In recent years, with increasing attention to sports injuries and foot-related diseases, the importance of foot data collection has been recognized by more and more medical institutions and sports rehabilitation centers. Especially when customizing orthotic insoles and arch support products, 3D foot scanners have become an indispensable core tool.
Compared to traditional large equipment, the new generation of portable laser 3D foot scanners, with their high precision, portability, and on-site data collection capability, are gradually becoming the new favorite in the sports rehabilitation industry.
Today, we will give you a detailed introduction to the practical operation steps and precautions for this device, so you can master it easily in 5 minutes!
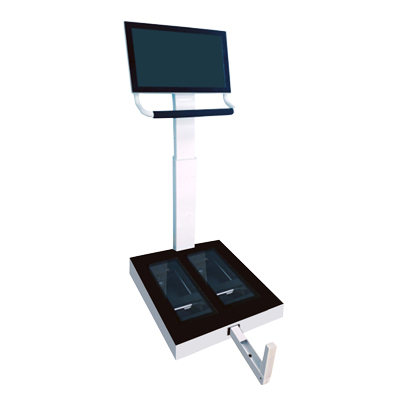
1. Device Overview: Lightweight but Powerful
Portable laser 3D foot scanners generally use structured light or laser projection technology. They are compact and can be handheld or placed on a simple stand for scanning. By capturing multiple angles of the sole and dorsum of the foot, they achieve a 3D reconstruction of key data such as foot shape, arch height, and heel tilt.
Advantages include:
Data collection anytime and anywhere
Non-contact, radiation-free, painless
Precision within 0.5 mm
Data can be directly imported into CAD/CAM systems for orthotic design
2. Operation Steps: Complete Foot Scan in Three Steps
Step 1: Prepare and Connect the Device
Connect the scanner to a laptop or tablet and launch the dedicated scanning software. Ensure sufficient battery power, no light interference, and set the collection parameters (e.g., resolution, capture speed).
Step 2: Position the Foot and Scanning Angle
Have the patient stand barefoot or sit with the foot flat. Slowly move the scanner from the front of the toes to the heel, keeping the scanning distance and angle stable. Use positioning stickers or foot trays if necessary to improve modeling accuracy.
Step 3: Generate and Save Data
After scanning, the software automatically generates a 3D foot model. You can view indicators such as the arch, metatarsal heads, and calcaneal axis, and export the data in STL or OBJ format for subsequent insole design or dynamic analysis.
3. Usage Tips: Don’t Overlook These Details
Avoid direct strong light which can affect laser projection stability
Ensure the foot is clean and free of socks or shoes before scanning
Move the scanner slowly from multiple angles to ensure a complete model without gaps
For special foot types such as flat feet or high arches, use the scanning calibration feature to fine-tune data accuracy
4. Application Scenarios: Rehabilitation + Sports + Routine Clinics
Portable 3D foot scanners are widely used in:
Sports rehabilitation centers for foot assessment and follow-up
Orthotic clinics for rapid data collection for custom insoles
Hospital orthopedics and diabetic foot clinics for structural analysis
Monitoring foot development in children and adolescents
